Want to start your own online store in India? Discover the complete step-by-step roadmap to launch, design, and scale a high-converting Shopify store with payment gateways, logistics partners, and optimized operations.
Introduction: The Direct-to-Consumer (D2C) Revolution in India
E-commerce in India is experiencing an unprecedented boom. While selling on marketplaces like Meesho, Amazon, or Flipkart is a fantastic way to reach bulk buyers, relying only on them has significant limitations: you don't own your customer data, competition is heavily based on price undercut, and commissions eat into your profits.
This is why building an independent brand is the ultimate path to long-term profitability.
Shopify has emerged as the gold standard for starting a custom e-commerce business. It is a zero-code, fully hosted platform that lets anyone build a premium online store in a matter of days. In this detailed guide, we will walk you through the exact steps to build your Shopify store in India and launch your online selling journey.
Why Choose Shopify India for Your Online Selling Business?
- Zero Coding Needed: Drag-and-drop website builder with premium templates.
- Integrated Ecosystem: Hundreds of Indian payment gateways and shipping apps (like Shiprocket).
- SEO & Marketing Ready: Built-in blogging, email marketing, and search optimization features.
- Scale Easily: Handles everything from your first 10 orders to 10,000+ orders a day.
Step 1: Find Your Niche and Source Products
Before opening your store, you need to decide what you will sell. For Indian e-commerce, successful products generally have:
- High Profit Margins: Product sourcing cost should be at least 3x less than the selling price.
- Low Shipping Weight: Under 500g is ideal to keep shipping costs low.
- Low Return Rates: Avoid overly complex sizes (like high-fashion clothing) when starting, as returns (RTO) are high.
- Unique Selling Proposition (USP): Sell something that isn't easily available at local Kirana shops.
You can source products from manufacturing hubs in Surat (textiles), Mumbai (accessories), Delhi (electronics/fashion), or Tirupur (knitted wear), or choose a dropshipping model.
Step 2: Sign Up and Choose a Shopify Plan in India
- Go to Shopify.in and sign up with your email.
- Shopify usually offers a 3-day free trial followed by a promotional offer (e.g., ₹20/month for the first 3 months).
- Choose the Basic Shopify plan. It is more than enough for new sellers, giving you two staff accounts, basic reports, and support for payment gateways.
Step 3: Purchase a Custom Domain Name
A domain name (like yourbrand.com or yourbrand.in) makes your store look professional and trustworthy.
- You can buy a domain directly through Shopify's dashboard, or purchase one from third-party registrars like GoDaddy or Namecheap and link it to Shopify in one click.
- Tip: Keep your domain name short, easy to spell, and brandable.
Step 4: Design a Clean and High-Converting Storefront
First impressions are everything in online selling.
- Choose a Theme: Shopify comes with free, high-performance themes like Dawn or Sense. Use Dawn—it is lightning-fast and highly customizable.
- Upload High-Quality Product Images: Do not use blurry images. Use natural-looking, high-resolution product photography with clean backgrounds.
- Write Detailed Product Descriptions: Clearly state the material, size chart, benefits, and package contents. Use bullet points for easy reading.
- Build Trust: Add trust badges, return policies, and clear customer support contact details in the footer.
Step 5: Configure Tax Settings (GST Setup)
To sell online in India, having a GST (Goods and Services Tax) number is highly recommended.
- Go to Settings > Taxes and duties in Shopify.
- Select India and input your GSTIN.
- Configure Shopify to calculate GST automatically on checkout (e.g., 5% for textiles under ₹1000, 12% or 18% for electronics/cosmetics).
- Ensure your product prices are marked as "All taxes included" to prevent surprise charges for buyers at checkout.
Step 6: Integrate Reliable Indian Payment Gateways
In India, payment collection requires specific local gateways. The most popular and reliable integrations for Shopify are:
- Razorpay: Easy onboarding, high success rates, supports UPI, credit cards, net banking, and wallets.
- Cashfree: Excellent alternative with quick payouts and competitive transaction charges.
- PayU India: Reliable enterprise-grade gateway.
The Cash on Delivery (COD) Crucial Factor
Over 70% of e-commerce orders in India are placed via Cash on Delivery.
- You must activate COD as a payment method in your payment settings.
- Warning: COD orders have a high risk of RTO (Return to Origin). Use apps like Reona or Swift to verify COD orders via automated WhatsApp confirmations before shipping them out.
Step 7: Integrate Shipping and Logistics Apps
Once orders start rolling in, you need to deliver them quickly and safely.
- Do not deal with individual courier companies. Instead, integrate shipping aggregator apps like Shiprocket, Delhivery, or NimbusPost from the Shopify App Store.
- These aggregators automatically sync your Shopify orders and give you access to multiple couriers (Delhivery, BlueDart, Xpressbees, Shadowfax) at deeply discounted rates.
- They also handle automatic tracking updates via SMS and email to your customers.
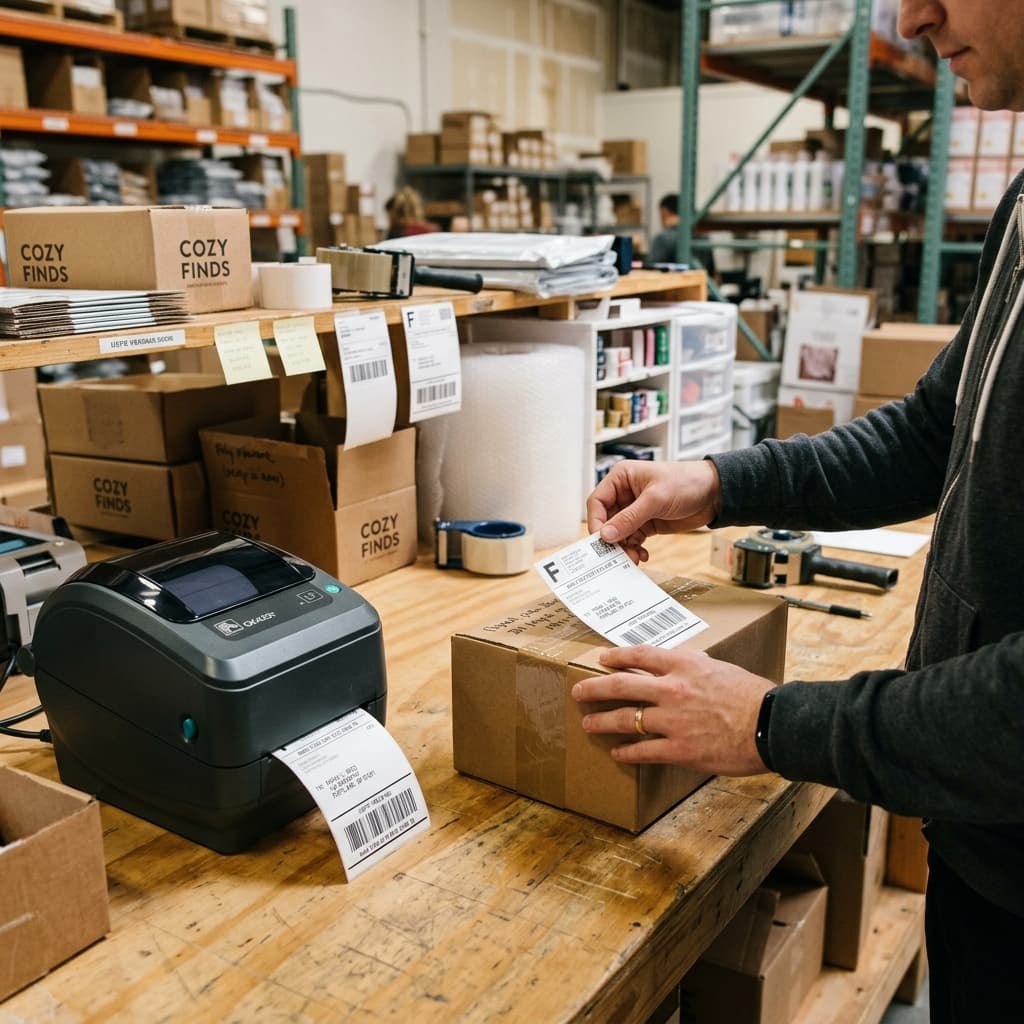
Step 8: Streamline Your Fulfillment with 4x6 Thermal Labels (Operational Pro-Tip)
As you scale from 5 to 50+ orders per day, packing speed becomes your biggest bottleneck.
- If you are still using regular paper and tape to paste labels, you are wasting hours of manual work and risking labels getting wet or smudged.
- Invest in a 4x6 thermal label printer (like TSC, Xprinter, or Rollo).
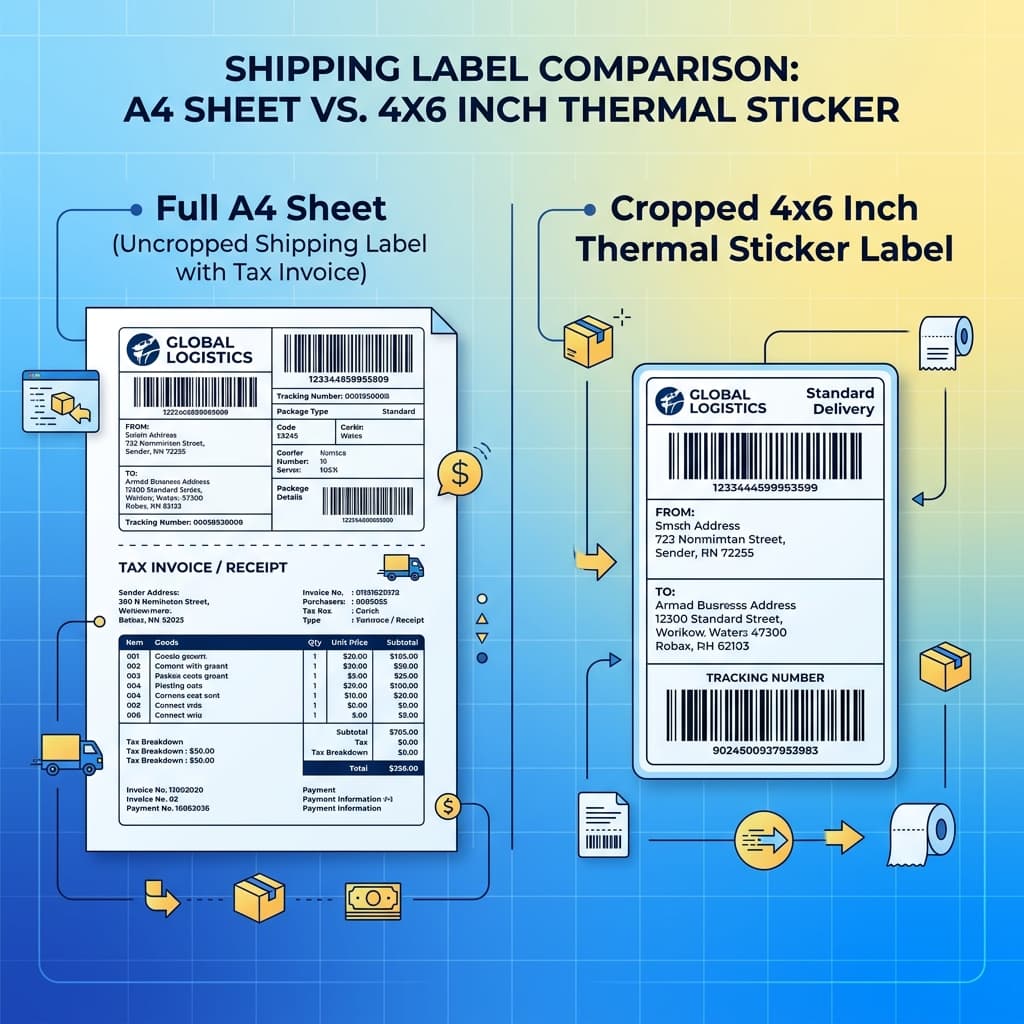
- The Challenge: Standard shipping labels generated by Shopify or Shiprocket are usually in A4 format or contain extra white space, making them painful to print on a 4x6 sticker.
- The Solution: Use Q Crop Label to instantly crop Shopify and Shiprocket PDF labels into perfect, ready-to-print 4x6 thermal stickers. This eliminates margin headaches, ensures your barcodes are perfectly scannable, and speeds up your packing line by 5x!
Conclusion: Start Small, Scale Fast
Launching an independent online selling business on Shopify in India is one of the most rewarding entrepreneurial paths in 2026. By building a clean store, providing excellent customer service, and keeping your shipping operations highly automated with tools like Q Crop Label, you can create a highly profitable e-commerce brand.
Stop waiting—register your domain, set up your Shopify store, and start selling online today!
About Q Crop Label
Q Crop Label helps 100,000+ Indian e-commerce sellers optimize their shipping workflow. We write about thermal printing, label management, and practical tips to help Amazon, Meesho, and Flipkart sellers save time and money on every order.